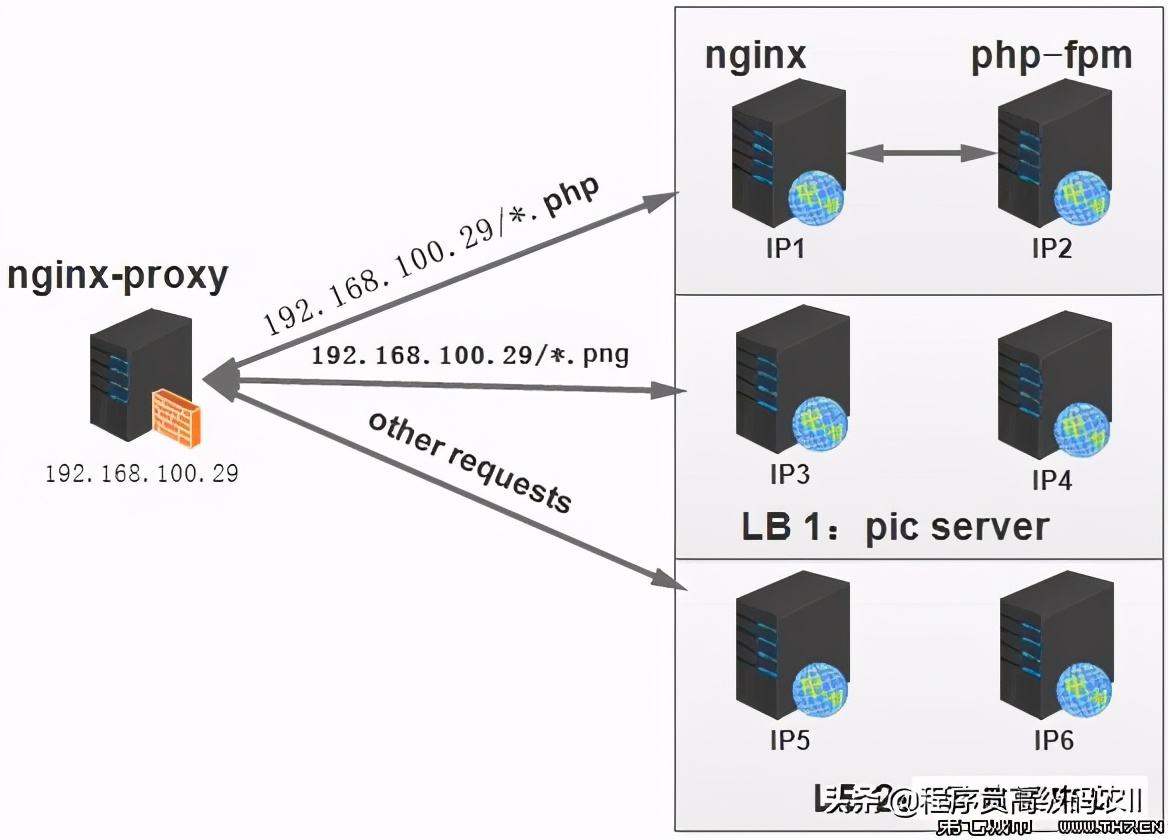
在安装完分布式文件系统之后,就可以在应用程序中进行调用了。注意需要在 Web端的页面上进行访问,还必须借助Nginx 提供访问服务。使用Nginx 不仅可以构建负载均衡服务还能使用缓存设置。在跟踪器和存储节点上都必须安装Nginx,下面分别进行说明。

在跟踪器上安装Nginx
在两台 Tracker Server机器上,按如下方法安装和配置Nginxo安装pcre支持库,按顺序执行下列命令:
tar xf pcre-8.40.tar.gz
cd pcre-8.40
./configure --prefix=/usr/local/pcre
make && make install
完成后,返回安装包存放路径/opt,按顺序执行下列命令,安装Nginx:
tar xfnginx-1.10.3.tar.gz
cd nginx-1.10.3
./configure --prefix=/data/nginx --with-pcre=/opt/pcre-8.40
--user=nginx
--group=nginx
--with-http ssl module --with-http realip module --with-http stub status module
make && make install
编辑Nginx的配置文件nginx.conf,内容如下所示:
user nginx nginx;worker processes 2;
#pid /usr/local/nginx/nginx.pid;worker rlimit nofile 51200;
events
{
use epoll;
worker connections 20480;
}
http
{
includemime. types;
default type Application/octet-stream;
log format main '$remote_ addr - $remote_user [$time_local] "$request
'$status $body bytes sent "Shttp referer"'
'"Shttp user agent" "$http x forwarded for" "$request time"';
access_log /data/nginx /logs/access.log main;
upstream server_group1{
server 192.168.1.23;
server 192.168.1.33;
}
server  {
listen 80;
server name localhost;location /group1 {
#include proxy.conf;
proxy pass http://server groupl;
}
}
}
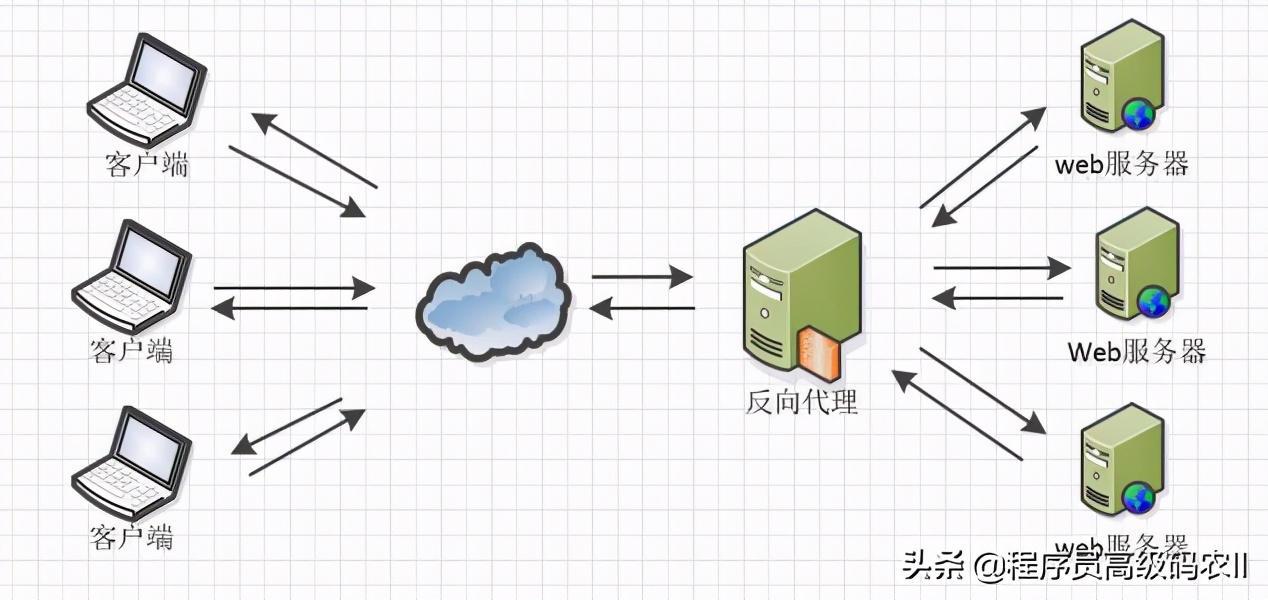
这个配置的原理是对两个存储节点上HTTP服务的访问,将由跟踪服务器进行负载均衡调度。例如,14.5节测试生成的图片文件,可以通过跟踪服务器使用如下所示的链接进行访问:
http://192.168.1.22/group1/M00/00/00/wKgBGFk3kUqACu9JAAGmMpryn2s674.png
使用如下命令启动Nginx:
/data/nginx/sbin/nginx
在存储节点上安装Nginx
在两台Storage机器上,进入存放安装包的路径/opt,按顺序执行下列命令,安装pcre支持库:
tar xf fastdfs-nginx-module_v1.16.tar.gz
tar xf pcre-8.40.tar.gz
cd pcre-8.40
./configure --prefix=/data/pcre
make && make install
完成后,返回存放安装包的路径/opt,按顺序执行下列命令,安装Nginx:
tar xf nginx-1.10.3.tar.gz
cd nginx-1.10.3
./configure --prefix=/data/nginx —-with-pere-/opt/pcre-8.40
--user=nginx1
--group-nginx
—-with-http_ssl module --with-http realip module l
--with-http stub status module
--add-module=/opt/fastdfs-nginx-module/src
make && make install
完成后,按下列命令复制相关文件:
cp /opt/fastdfs-nginx-module/src/mod_fastdfs.conf /etc/fdfs/cd /opt/fastdfs-5.10/conf
cp anti-steal.jpg http.conf mime.types /etc/fdfs/
完成后,使用如下命令编辑配置文件mod_fastdfs.conf:
vi /etc/fdfs/mod fastdfs.conf
编辑下列各项内容:
#日志目录
base path=/tmp
#跟踪服务器
tracker server=10.10.10.22:22122tracker server=10.10.10.32:22122#URL中是否有group名称
url have group name = true#storage path的个数
store_path_count=2
store_path0=/data/fdfs_storage/storage0store_pathl=/data/fdfs_storage/storage1
使用如下命令编辑Nginx配置文件:
vi /data/nginx/ conf/nginx.conf
文件的内容如下所示:
user nginx nginx;
worker processes 2;
#pid/usr/local/nginx/logs/nginx.pid;worker rlimit_nofile 1024;
events {
use epoll;
worker connections 1024;
}
http {
include mime.types;
server names hash bucket size 128;client header buffer_size 32k;
largeclient header buffers 432k;client max body size 20m;
limit rate 1024k;
default type application/octet-stream;
log format main '$remote addr - $remote user [$time local] "Sreauest" 1'$status $body bytes sent "$http referer",
I"Shttp user agent" "Shttp x forwarded for"';
access log/data/nginx/logs/access.log main;
server {
listen 80;
server name localhost;
location ~/group[0-9]/MO0{
#root /data/fdfs storage;ngx fastdfs module;
}
}
}
保存文件后,使用如下命令创建两个软链接:
ln -s /data/fdfs storage/storage0 /data/fdfs storage/storage0/M00
ln -s /data/fdfs storage/storagel /data/fdfs storage/storage1/M00
使用如下命令启动Nginx:
/data/nginx/sbin/nginx
为了方便运维管理,前面安装的各个服务都可以设置为开机启动。
开机启动Tracker
在两台Tracker Server机器上,创建服务启动文件:
vi/etc/rc.d/init.d/fdfs trackerd
输入如下内容:
#!/bin/bash
#
#fdfs trackerd Starts fdfs trackerd#
#
#chkconfig: 234599 01
#description: FastDFS tracker server### BEGIN INIT INFO
# Provides: $fdfs trackerd###END INIT INFO
#Source function library.
. /etc/init.d/functions
PRG=/usr/bin/fdfs trackerdCONF=/etc/fdfs/tracker.conf
if[!-f $PRG ];then
echo "file $PRG does not exist!"exit 2
fi
if[!-f $CONF ]; then
echo "file $CONF does not exist! "
exit 2
fi
CMD="$PRG $CONF"RETVAL=0
start( {
echo -n $"Starting FastDFS tracker server: "$CMD &
RETVAL=$?echo
return $RETVAL
}
stop () {
$CMD stopRETVAL=$?
return $RETVAL
}
rhstatus() {
status fdfs trackerd
}
restart(  {
$CMD restart &
case "$1" in
start)
start;;
stop)
stop;;
status)
rhstatus
;;
restart|reload)
restart
;;
condrestart)
restart;;
* )
echo $"Usage: $0 {start IstopIstatus|restart l.condrestart}"exit 1
esac
exit $?
按顺序执行下列命令,把 Tracker设置为开机启动:
chmod 755 /etc/rc.d/init.d/fdfs trackerd
chkconfig --add fdfs_trackerd
chkconfig fdfs_trackerd on
开机启动 Storage
在两台Storage机器上,创建服务启动文件:
vi /etc/init.d/fdfsstoraged
输入如下内容:
#!/bin/bash#
#fdfs storaged Starts fdfs storaged#
#
#chkconfig:2345 99 01
# description: FastDFS storage server### BEGIN INIT INFO
# Provides: $fdfs storaged### END INIT INFO
#Source function library../etc/init.d/ functions
PRG=/usr/bin/fdfs_storaged
CONF=/etc/fdfs/storage.conf
if [!-f $PRG ];then
echo "file $PRG does not exist! "exit 2
fi
if [!-f $CONF J;then
echo "file $CONF does not exist! "exit 2
fi
CMD="SPRG $CONF"RETVAL=0
start({
echo -n "Starting FastDES storage server: "$CMD &
RETVAL=$?echo
return $RETVAL
stop(){
$CMD stopRETVAL-$?
return $RETVAL
rhstatus() {
status fdfs_storaged
}
restart({
$CMD restart &
}
case "$1" instart)
start;
;
stop)
stop
status)
rhstatus
;;
restartlreload)
restart
;;
condrestart)
restart;;
*)
echo "Usage: $0{startlstoplstatus| restartl condrestart}"exit 1
esac
exit $?
按顺序执行下列命令,把 Storage设置为开机启动:
chmod 755 /etclrc.d/init.d/fdfs storaged
chkconfig --add fdfs storaged
chkconfig fdfs storaged on
开机启动Nginx
在四台机器中各创建一个Nginx启动文件:
vi /etc/init.d/nginx
输入如下内容:#!/bin/bash
# chkconfig: -8515PATH=/data/nginx
DESC="nginx daemon"NAME=nginx
DAEMON=$PATH/sbin/$NAME
CONFIGFILE=$PATH/conf/$NAME.confPIDFILE=$PATH/logs/$NAME.pid
SCRIPTNAME=/etc/init.d/$NAMEset -e
[-x "$DAEMON" 1llexit 0do start( {
$DAEMON -c $CONFIGFILE I echo -n "nginx already running"}
do_stop ({
$DAEMON -s stop ll echo -n "nginx not running"}
do reload() {
$DAEMON-s reload ll echo -n "nginx can't reload")
case "$1" instart)
echo -n "Starting $DESC: $NAME"do_start
echo ".";;
stop)
echo -n "Stopping $DESC:$NAME""do_stop
echo ".";;
reloadl graceful)
echo -n "Reloading $DESC configuration. . ."do reload
echo ".";
restart)
echo -n "Restarting $DESC:$NAME"do stop
do_startecho ".";;
*)
echo "Usage: $SCRIPTNAME {startlstopl reloadlrestart}">&2exit 3
;;
esacexit 0
按顺序执行下列命令,把 Nginx设置为开机启动:chmod 755 /etc/rc.d/init.d/nginx
chkconfig --add nginx
chkconfig nginx on
本章使用开源的FastDFS搭建了一个高可用的分布式文件系统,并通过Nginx为文件的访问设置了负载均衡服务,从而为微服务应用提供一个高性能的文件服务器。
在完成安装并测试正常之后,即可在库存管理项目中配置分布式文件系统的链接地址,使用微服务与分布式文件系统进行联调。