一、准备机器
1、准备四台机器,(minio集群最少四台)。
192.168.223.132 minio-1
192.168.223.133 minio-2
192.168.223.134 minio-3
192.168.223.135 minio-4
2、编辑hosts文件,将以上内容添加到hosts中
vim /etc/host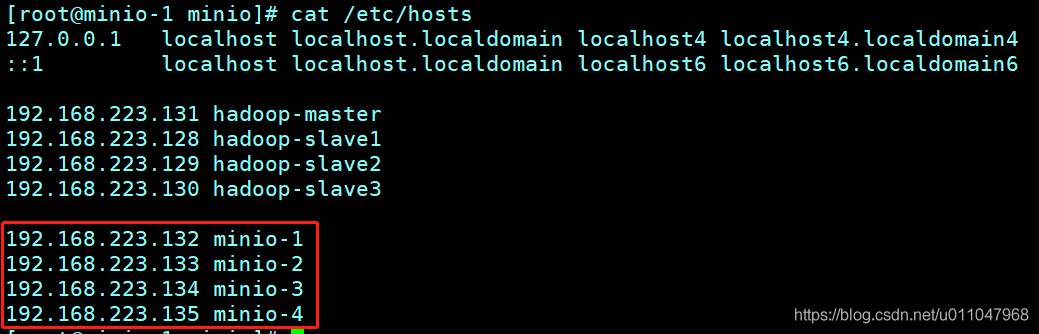
部署(所有机器均执行)
以下的操作都需要在四台机器上执行
3、创建挂载磁盘路径
mkdir -p /data/minio_data/
4、挂载磁盘路径到文件系统
注意:需要将新建的目录挂在到对应的磁盘下,磁盘不挂载好,集群启动会报错,还需要注意的是挂载的文件系统至少要1G不然无法初始化导致集群报错
文件系统 容量 已用 可用 已用% 挂载点
[root@minio-1 minio]# df -h
文件系统                                容量  已用  可用 已用% 挂载点
devtmpfs                                470M     0  470M    0% /dev
tmpfs                                   487M     0  487M    0% /dev/shm
tmpfs                                   487M  8.4M  478M    2% /run
tmpfs                                   487M     0  487M    0% /sys/fs/cgroup
/dev/mApper/centos_hadoop--master-root   47G   12G   36G   25% /
/dev/sda1                              1014M  240M  775M   24% /boot
tmpfs                                    98M     0   98M    0% /run/user/0
tmpfs                                    98M   12K   98M    1% /run/user/42
————————————————
5、将上面挂载磁盘路径挂载到相应的文件系统上
mount /dev/sda1 /data/minio_data/
6、查看挂载信息

7、创建minio目录
mkdir -p /opt/minio
cd /opt/minio/
8、下载安装包
wget http://dl.minio.org.cn/server/minio/release/linux-amd64/minio
wget https://dl.min.io/client/mc/release/linux-amd64/
9、赋执行权限(根据情况,这里赋全部权限)
chmod +x minio mc
10、创建启动脚本,编辑run.sh文件
mkdir /opt/minio && cd /opt/minio
内容如下:
cat > run.sh <<EOF
#!/bin/bash
export MINIO_ACCESS_KEY=minio
export MINIO_SECRET_KEY=Leo825#20210423
/usr/local/bin/minio server --config-dir /etc/minio --address "0.0.0.0:9000" http://192.168.81.235/minio http://192.168.81.236/minio http://192.168.81.237/minio http://192.168.81.234/minio
EOF
11、赋执行权限(根据情况,这里赋全部权限)
chmod 777 /opt/minio/run.sh
12、创建启动服务,创建minio.service启动脚本
vim /usr/lib/systemd/system/minio.service

内容如下:

[Unit]
Description=Minio service
Documentation=https://docs.minio.io/

[Service]
#安装包路径
WorkingDirectory=/opt/minio/
#启动命令路径
ExecStart=/opt/minio/run.sh

Restart=on-failure
RestartSec=5

[Install]
WantedBy=multi-user.target
13、启动测试(所有机器执行)
重新加载服务的配置文件
systemctl daemon-reload

启动minio服务
systemctl start minio

查看minio状态
systemctl status minio
[root@minio-2 ~]# systemctl status minio
● minio.service - Minio service
Loaded: loaded (/usr/lib/systemd/system/minio.service; disabled; vendor preset: disabled)
Active: active (running) since 日 2021-01-31 17:22:54 CST; 17s ago
Docs: https://docs.minio.io/
Main PID: 2036 (run.sh)
Tasks: 8
CGroup: /system.slice/minio.service
├─2036 /bin/bash /opt/minio/run.sh
└─2039 /opt/minio/minio server http://192.168.223.232/data/minio_data/data1 http://192.168.223.233/data/minio_

关闭minio服务
systemctl stop minio
14、访问地址
集群中的任何一台机器都可以访问:

http://192.168.223.132:9000/
http://192.168.223.133:9000/
http://192.168.223.134:9000/
http://192.168.223.135:9000/
15、创建测试桶
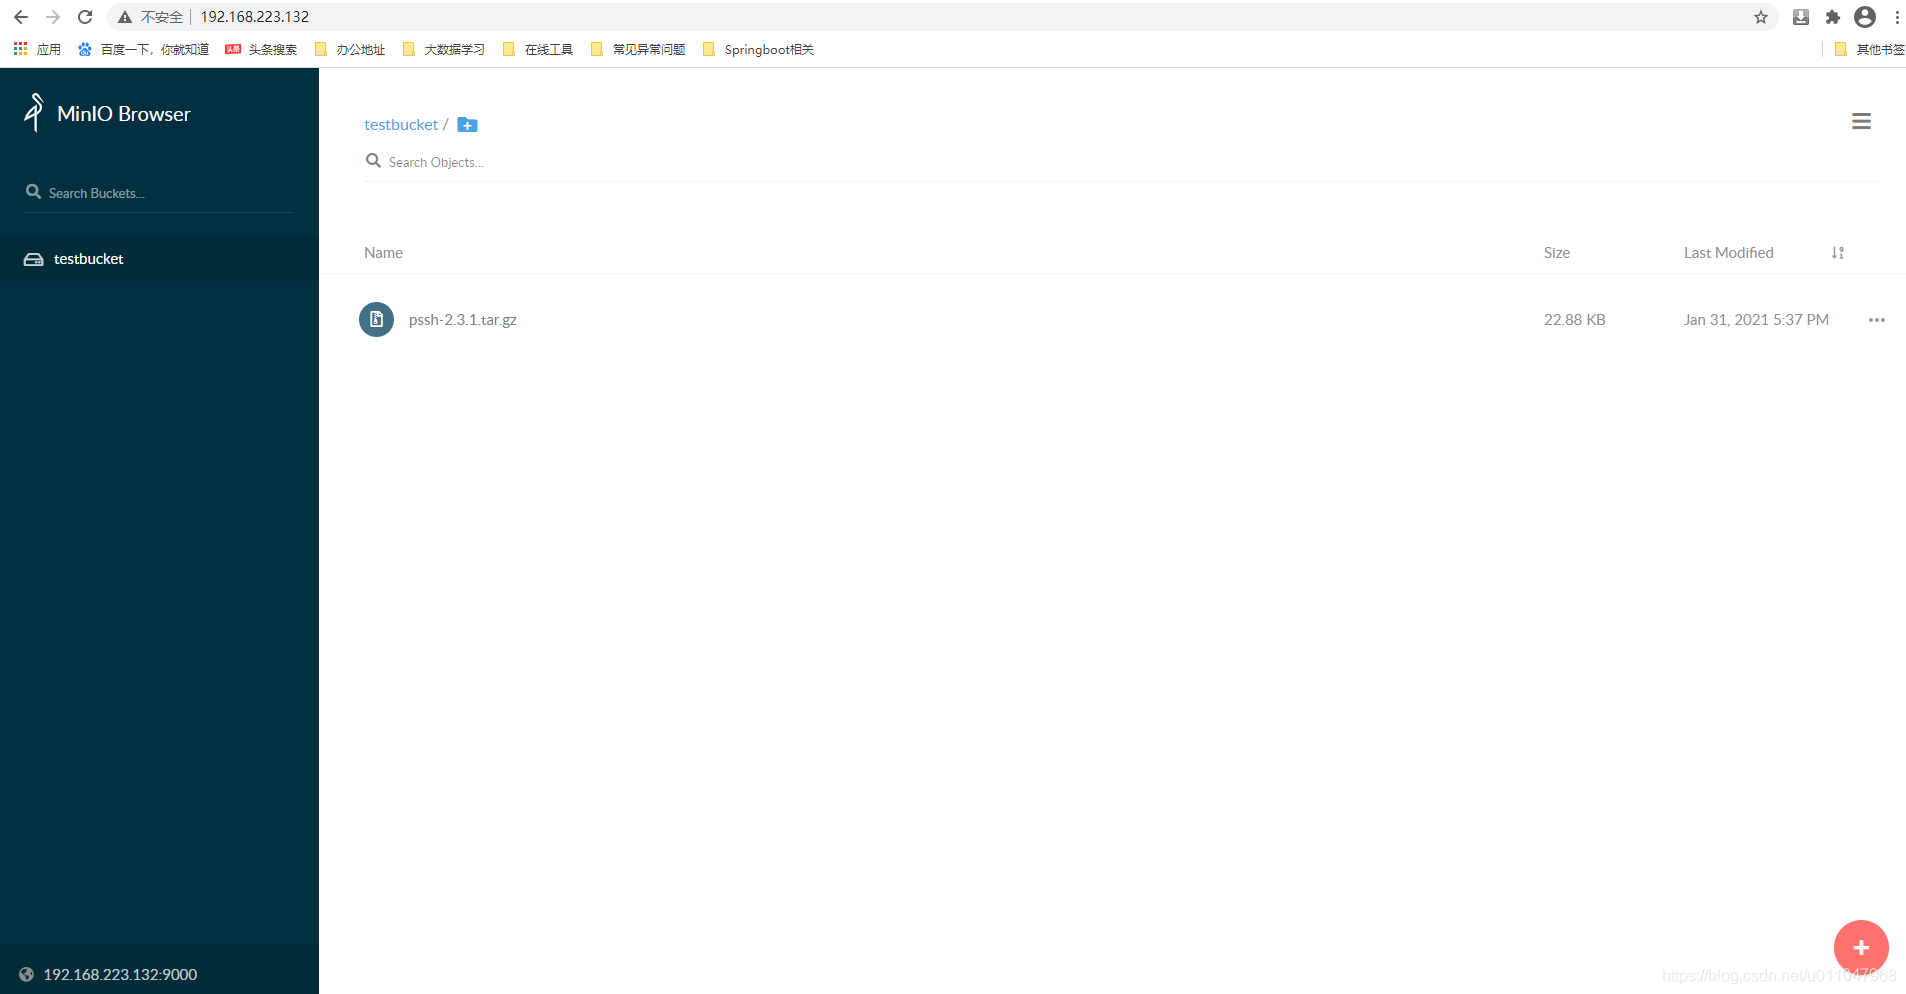
16、上传测试
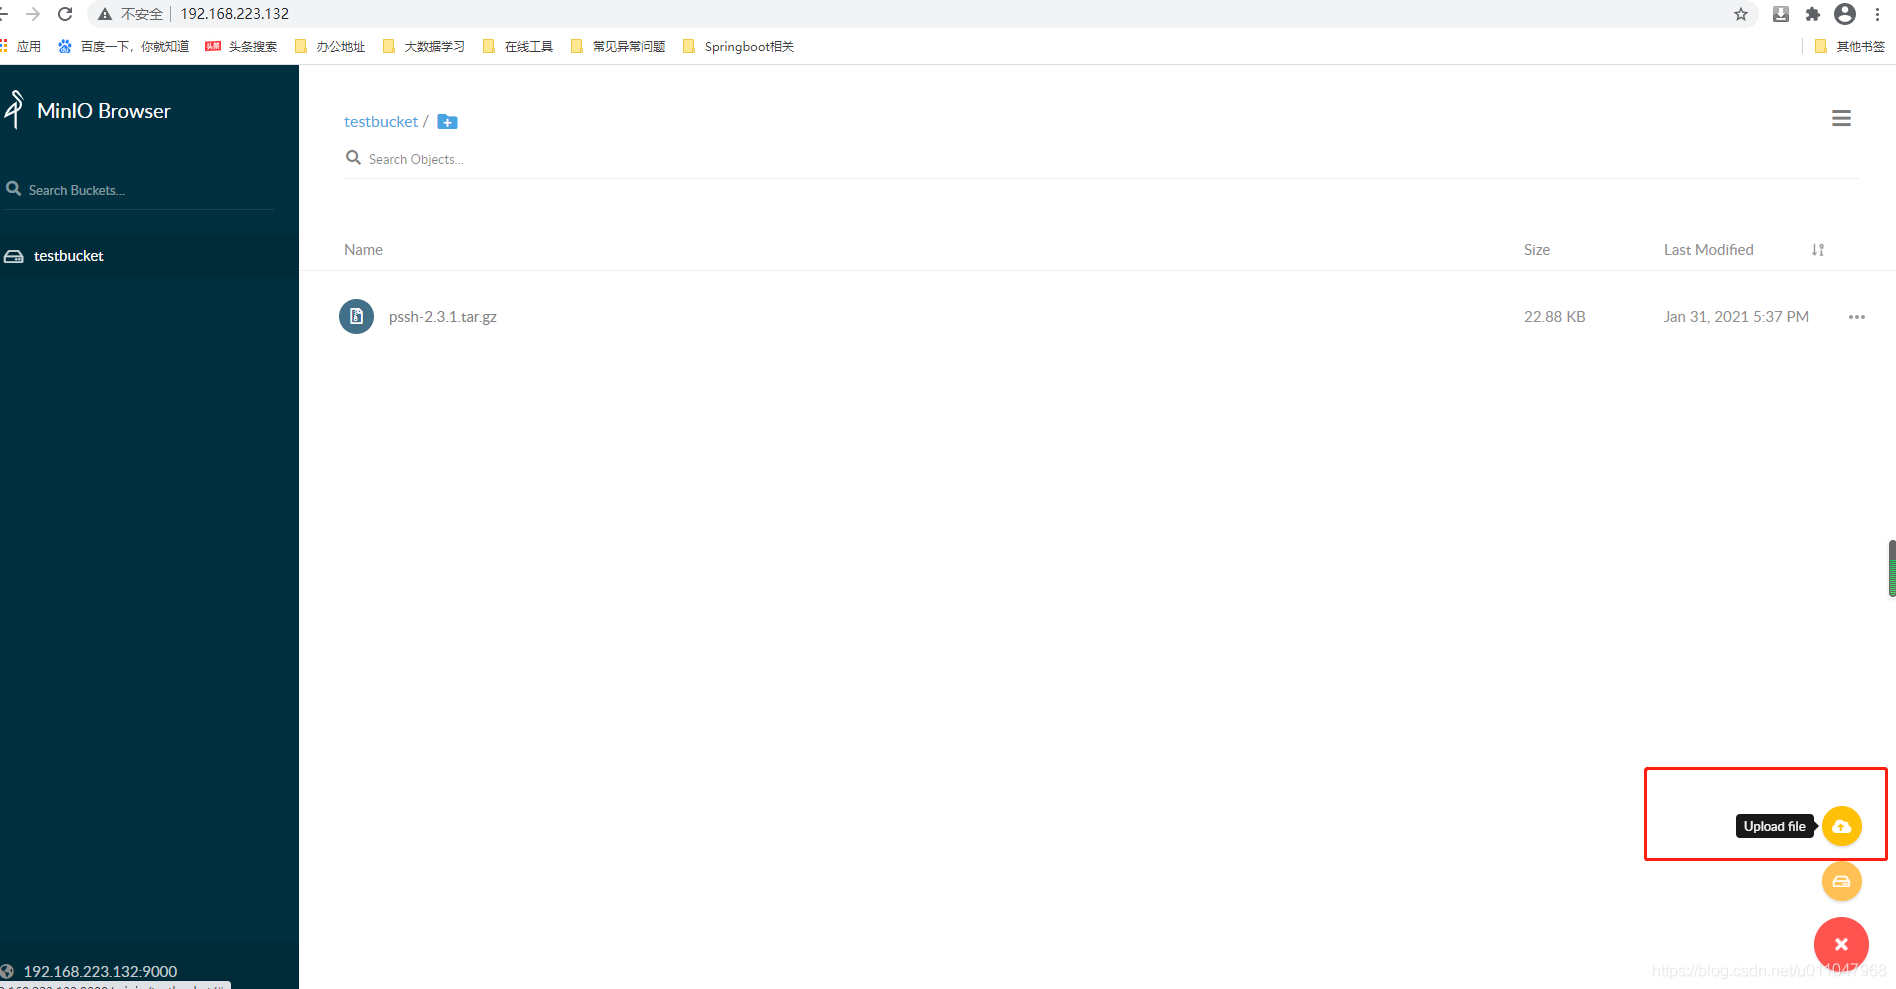
17、主机上可以查看到上传的文件

二、Nginx配置文件服务器访问
1、执行命令
mc alias set minio http://192.168.223.132:9000/ minio Leo825#20210423 --api S3v4
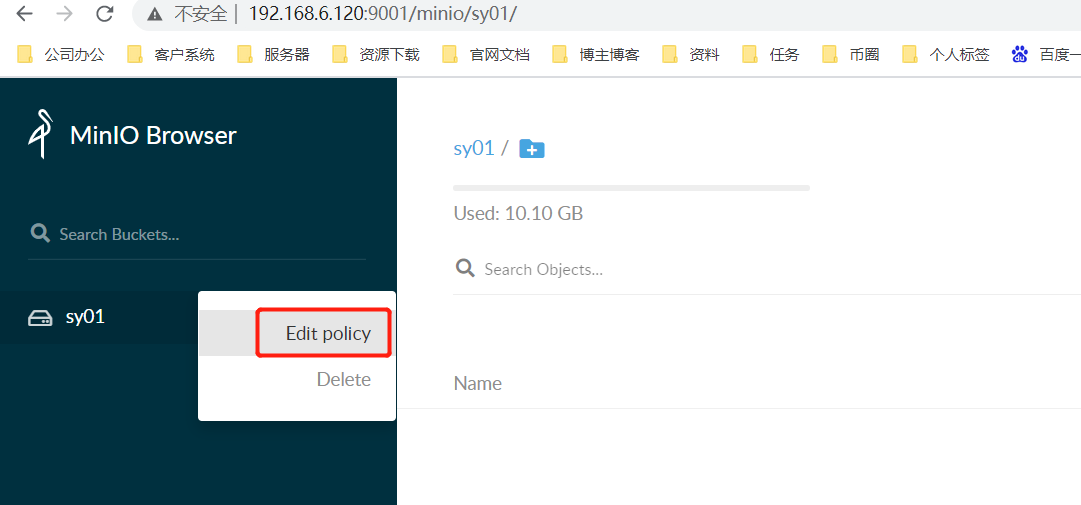
开启匿名访问
mc policy set public minio/sy01
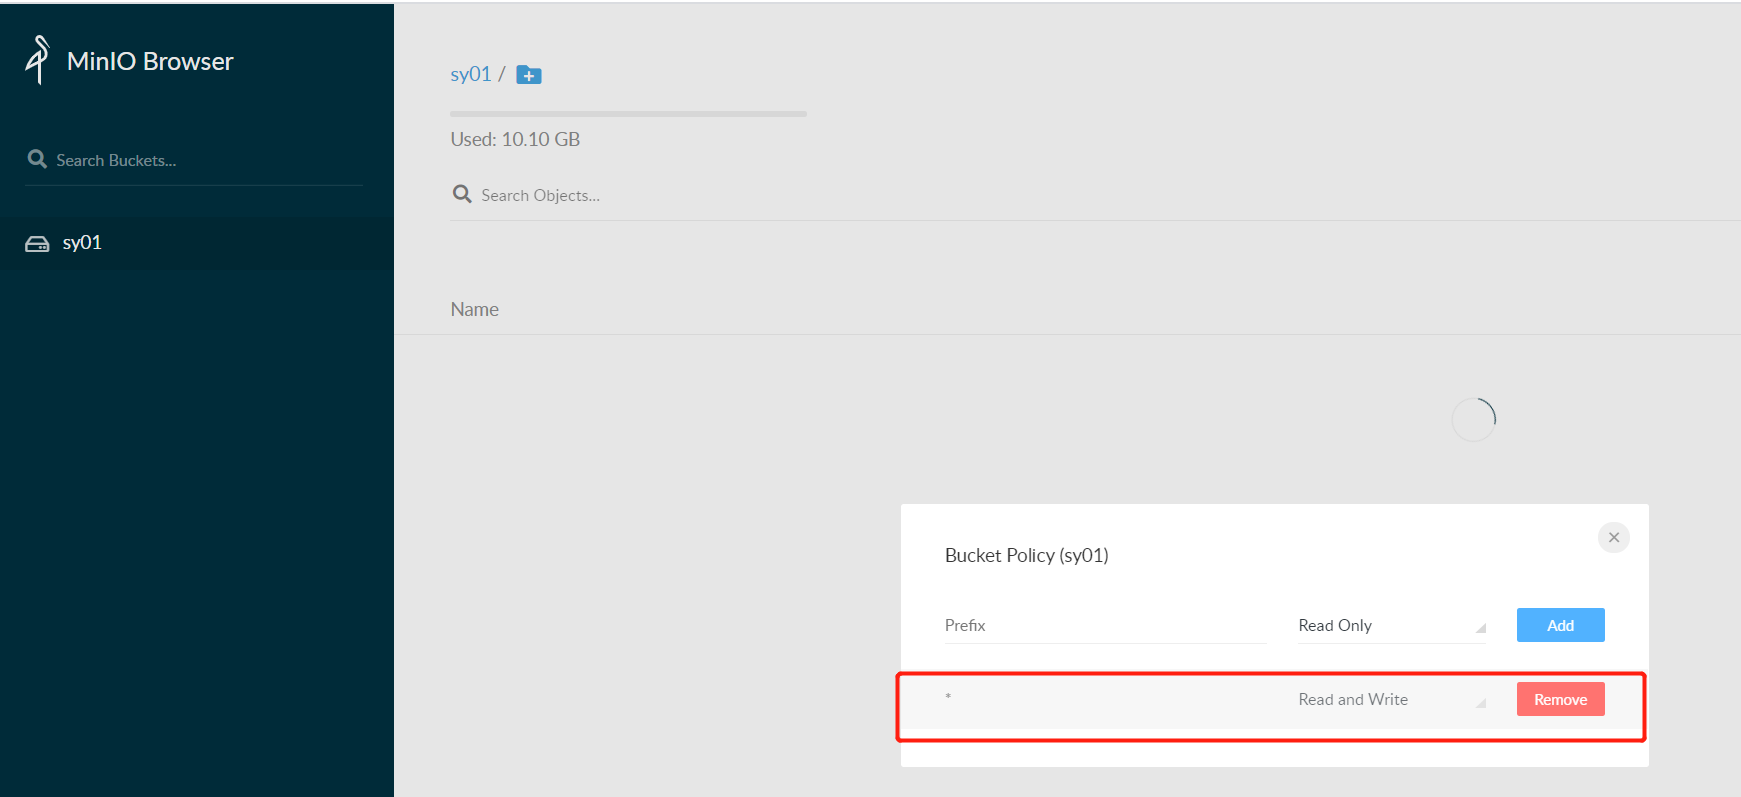
2、web页面开启匿名访问
3、http访问,sy01是桶名称,方便浏览器访问。
upstream minio-server{
  server 192.168.6.124:9000 weight=25 max_fails=2 fail_timeout=30s;
  server 192.168.6.125:9000 weight=25 max_fails=2 fail_timeout=30s;
  server 192.168.6.126:9000 weight=25 max_fails=2 fail_timeout=30s;
  server 192.168.6.128:9000 weight=25 max_fails=2 fail_timeout=30s;
}server {
   listen 8888;
   server_name 192.168.6.120;

   #To allow special characters in headers
   ignore_invalid_headers off;
   # Allow any size file to be uploaded.
   # Set to a value such as 1000m; to restrict file size to a specific value
   client_max_body_size 0;
   # To disable buffering
   proxy_buffering off;

   location /sy01/ {
      proxy_set_header X-Real-IP $remote_addr;
      proxy_set_header X-Forwarded-For $proxy_add_x_forwarded_for;
      proxy_set_header X-Forwarded-Proto $scheme;
      proxy_set_header Host $http_host;

      proxy_connect_timeout 300;
      # Default is HTTP/1, keepalive is only enabled in HTTP/1.1
      proxy_http_version 1.1;
      proxy_set_header Connection "";
      chunked_transfer_encoding off;

      proxy_pass http://minio-server;
    }

    location / {
      proxy_set_header X-Real-IP $remote_addr;
      proxy_set_header X-Forwarded-For $proxy_add_x_forwarded_for;
      proxy_set_header X-Forwarded-Proto $scheme;
      proxy_set_header Host $http_host;

      proxy_connect_timeout 300;
      # Default is HTTP/1, keepalive is only enabled in HTTP/1.1
      proxy_http_version 1.1;
      proxy_set_header Connection "";
      chunked_transfer_encoding off;

      proxy_pass http://minio-server; # If you are using Docker-compose this would be the hostname i.e. minio
      # Health Check endpoint might go here. See https://www.nginx.com/resources/wiki/modules/healthcheck/
      # /minio/health/live;
    }
}
4、https访问,minio是负载minio服务,sy01是桶名称,方便浏览器访问。
upstream minio-server{
        server 192.168.6.124:9000 weight=25 max_fails=2 fail_timeout=30s;
        server 192.168.6.125:9000 weight=25 max_fails=2 fail_timeout=30s;
        server 192.168.6.126:9000 weight=25 max_fails=2 fail_timeout=30s;
        server 192.168.6.128:9000 weight=25 max_fails=2 fail_timeout=30s;
}

server {
     listen 443 ssl;
     server_name  192.168.6.120;

     ssl_certificate /etc/nginx/ssl/192.168.6.120.crt;
     ssl_certificate_key /etc/nginx/ssl/192.168.6.120.key;

     location /sy01/ {
          proxy_set_header X-Real-IP $remote_addr;
          proxy_set_header X-Forwarded-For $proxy_add_x_forwarded_for;
          proxy_set_header X-Forwarded-Proto $scheme;
          proxy_set_header Host $http_host;

          proxy_connect_timeout 300;
          proxy_http_version 1.1;
          proxy_set_header Connection "";
          chunked_transfer_encoding off;
          proxy_pass http://minio-server;
   }

   location /minio {
      proxy_set_header X-Real-IP $remote_addr;
      proxy_set_header X-Forwarded-For $proxy_add_x_forwarded_for;
      proxy_set_header X-Forwarded-Proto $scheme;
      proxy_set_header Host $http_host;

      proxy_connect_timeout 300;
      proxy_http_version 1.1;
      proxy_set_header Connection "";
      chunked_transfer_encoding off;
      proxy_pass http://minio-server;
   }
}
5、浏览器访问效果: